Powertec Power Rack Lat Tower Option Additional Assembly Instructions
Here are some additional instructions for the Powertec Lat Tower Option for the Powertec Power Rack System. The Powertec Power Rack System is dead simple to assemble. However some people think the Lat Option is difficult due to the cable system. With these additional instructions the Powertec Lat Tower Option is dead easy to assemble.
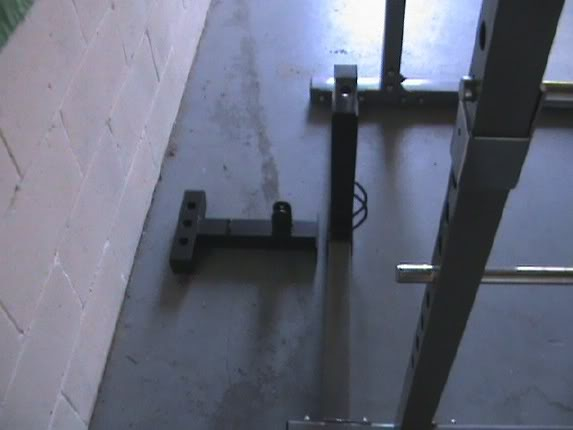
The Lat Tower Build
Put the base section of the Powertec Lat Tower Option on the base section of the Power Rack. By lining up the bolt holes you will get it in the right position. You should then bolt into place, but do not tighten any bolts until you have built the entire unit.
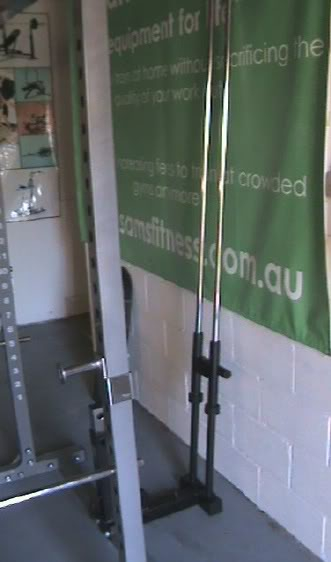
Next you will need to put the chrome slide bars in the holes in the base section. The end with the threaded section should be at the top. Now slide the solid stop tubes over the chrome slide bars. Then put on the rubber bump stops. Finally put the weight carriage on to the chrome slide bars. The tube that houses the Olympic plate holder should face the rear. The threaded section with the washer welded on should be face up.
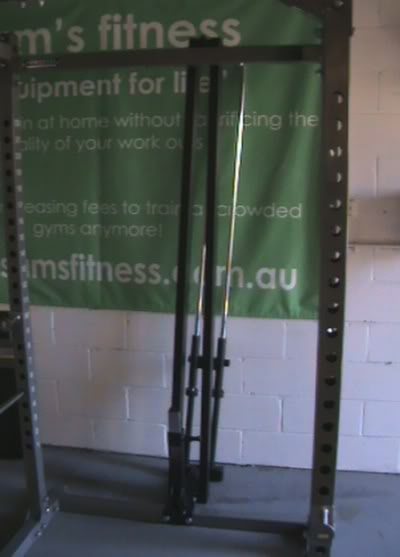
Now bolt the rear uprights to the base.
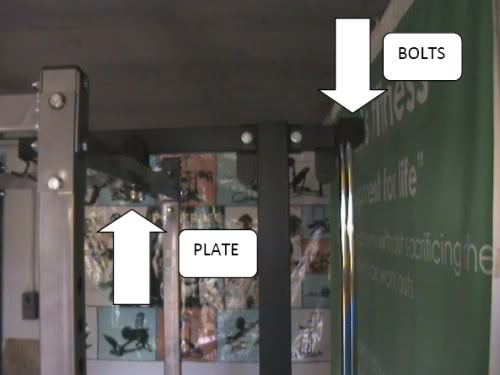
Now bolt the top of the Lat Tower to the rear uprights and rear of the power rack. Don’t forget the 2 bolts that secure the chrome slide bars to the top of the Powertec Lat Tower Option. Also remember to bolt the backing plate on the underside of the power rack.
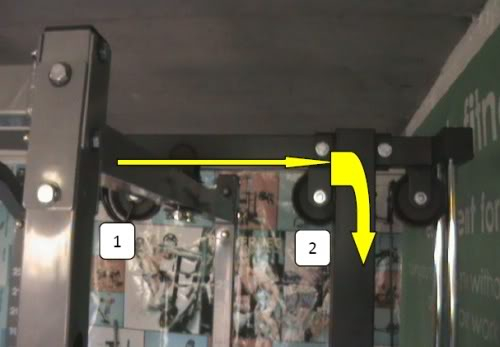
Running the Lat Tower Cable
Run the top cable first. The top cable is the one with the bolt at one end. The bolt end screws into the weight carriage. Run the cable in the direction of the arrows, run the cable through then put pulley #1 in. You will need to run the cable first. Follow the same procedure for pulley #2.
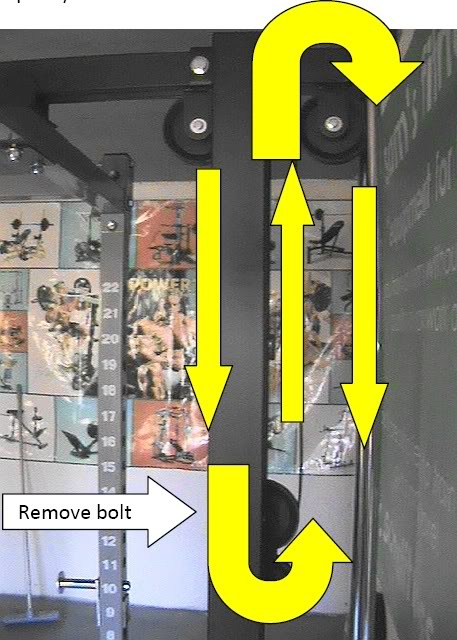
Here you can see the rest of the path for the top cable. You will need to remove a bolt and pulley to get the cable through the two joined pulleys. Run the cable back up to the last top pulley and then bolt the end of the cable into the top of the weight carriage.
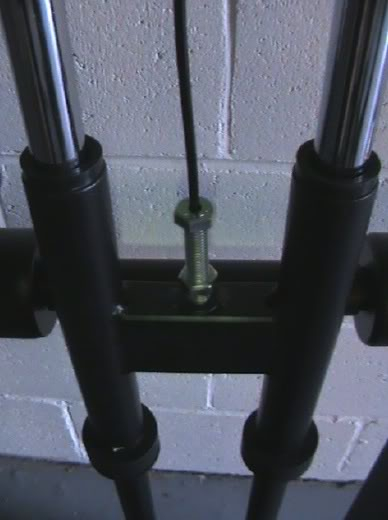
Screw the main bolt down. The nut on the bolt is used to lock the main bolt in place. The bolt pictured is only just in, you will need to screw the bolt in further. Once you have screwed it in you then need to tighten up the lock nut.
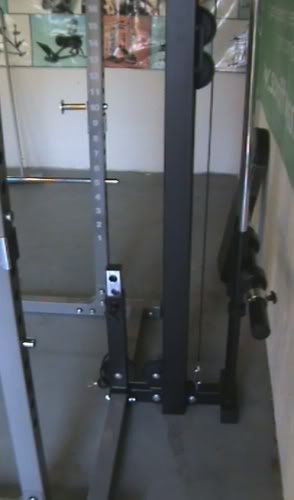
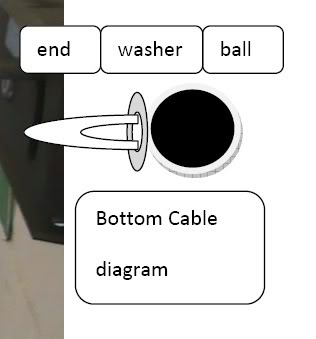
The base cable is similiar to the top cable. Make sure the washer is in front of the ball on cable (see diagram above), if it is’t just slide the ball down the other end of the cable. Secure the cable with an elipse hook.
Nearly There!
Tighten up the bolts. Spray the chrome sliders with silicone lube. It will need a spray every now and then.
As you can see the Lat Tower Option is not a complicated piece of gym equipment to put together. The addition of the Powertec Lat Tower Option to your Powertec Power Rack will give you an awesome home gym. If you have any other questions do’t hesitate to drop us a line.
